Temp Heat
Keeping Jobs Productive in a New England Winter

Let me take you through what it’s like working on a remodel or new build in New England. Winters here can make it tough to stay productive. Let’s ignore the obvious — working outdoors — and talk about what it takes to keep a project moving inside.
I’ve tried just about every temporary heat setup out there. Below, I’ve broken them down by fuel source, with pros and cons for each.
Before we get into the list, one thing to note: with temporary systems 1–3, you’ll eventually need to transition to the permanent house systems for final stage heating and cooling.. Meaning you’ll be running the client’s home system during finish stage of construction.
Option #4 does not require that transition. We use this system right up until the final buff coat is applied to the floors. Once the site is cleaned, we fire up the permanent systems and remove the temp setup. This client’s heating & cooling system is not used for construction.
Think of it like this: using the permanent HVAC system during construction is like building a car on the assembly line and running its heater and A/C the whole time for the workers comfort — then calling it “brand new.” Not the best move.
A Quick Note on Monitoring
With all of these systems, we use ThermoPro temperature and humidity gauges — a couple per floor. They cost about $9.99 each and are insanely useful for keeping the indoor environment in check. We also use air movers to push the air around, preventing hot and cold spots. Just painting the full picture.


The WHY
Why bother with temp heat or cooling? Why take on the extra expense or management headache?
Fair questions.
But what if I told you not using these systems actually creates more work — problems that don’t show up until you’re well beyond punch list?
Yes, temporary heat and cooling are worth it. They elevate your process and your finished product. When you maintain consistent temperature and humidity throughout construction — especially during framing, trim, and hardwood — you dramatically reduce issues like cracked joints and hardwood movement.
“Finish work” shouldn’t move, crack, or need touch-ups months later. Those issues happen when materials absorb or release moisture during the build, and then keep shifting after completion.
As a bonus, giving your crews a conditioned space to work in means better morale, better craftsmanship, and higher productivity. They’ll show up on days when other jobs are freezing — or boiling.
1. Torpedo Heaters
The most common temporary heat option. Usually run on diesel or kerosene. Most common because it’s the most convenient; found at any box store.
Honestly, I only use these outdoors or during mechanical rough-ins. Once insulation or drywall hits the site, I’m out.
The fumes are brutal — and drywall or blueboard paper can absorb those chemicals, holding that smell in the home. Refueling is also a nightmare. Even with a plywood drip tray, someone will spill and stain the subfloor w/ diesel or kerosene.
Price Point: $200–$500 for 80k–175k BTU models
2. Electric Heaters
My go-to for safety, reliable heat is the DeWalt 13kW 240V forced-air heater. The surface of the unit stays cool to the touch and it doesn’t require oil.


The downside: it needs to be hardwired to your temporary or permanent electrical service. It has a built-in thermostat and can safely run overnight. One large unit on the first floor, plus an air mover pushing warm air to the basement, comfortably heats 4,000–6,000 sq. ft. For larger builds (6,000–13,000 sq. ft.), we use two units — one on each end (east & west)
Price Point: ~$1,200 each (good for 2–3 years with minimal maintenance)
For smaller areas or rooms with poor airflow, we use the 3.3kW DeWalt heaters. These are also hardwired — not plug-and-play — and we rotate three of them across projects.
Price Point: ~$220 each
Credit to @KrugerConstruction for posting about these back in November 2016 — thank you, sir!
3. Propane Heaters
I’ve used two main setups here:


Option A — Rental Unit
These are the big rental-company models, sized by BTU like the torpedos but on steroids. They blast heat — fast. But they’re fuel hogs. They run full throttle until the thermostat cuts out, with no modulation for efficiency.
You’ll get heat, but you’ll also get hefty monthly rental and fuel bills. Billable, yes, but not the best budget move.
Option B — Ground-Mount Tent Heater
This setup uses an exterior ground-mounted propane tent heater with 2–3 temporary 100-gallon propane tanks, linked by your supplier. Power comes from a standard extension cord. It includes a thermostat you can run indoors, and we use 25’ ceramic ducting to direct heat where it’s needed — up to second floors or into larger spaces like family rooms.
This system works extremely well, but requires you to manage airflow and temperature distribution.
We’ve had great results with the L.B. White Premier 170.
Price Point: ~$2,000+ (roughly 200 gallons per month for a 12,000 sq. ft. renovation)
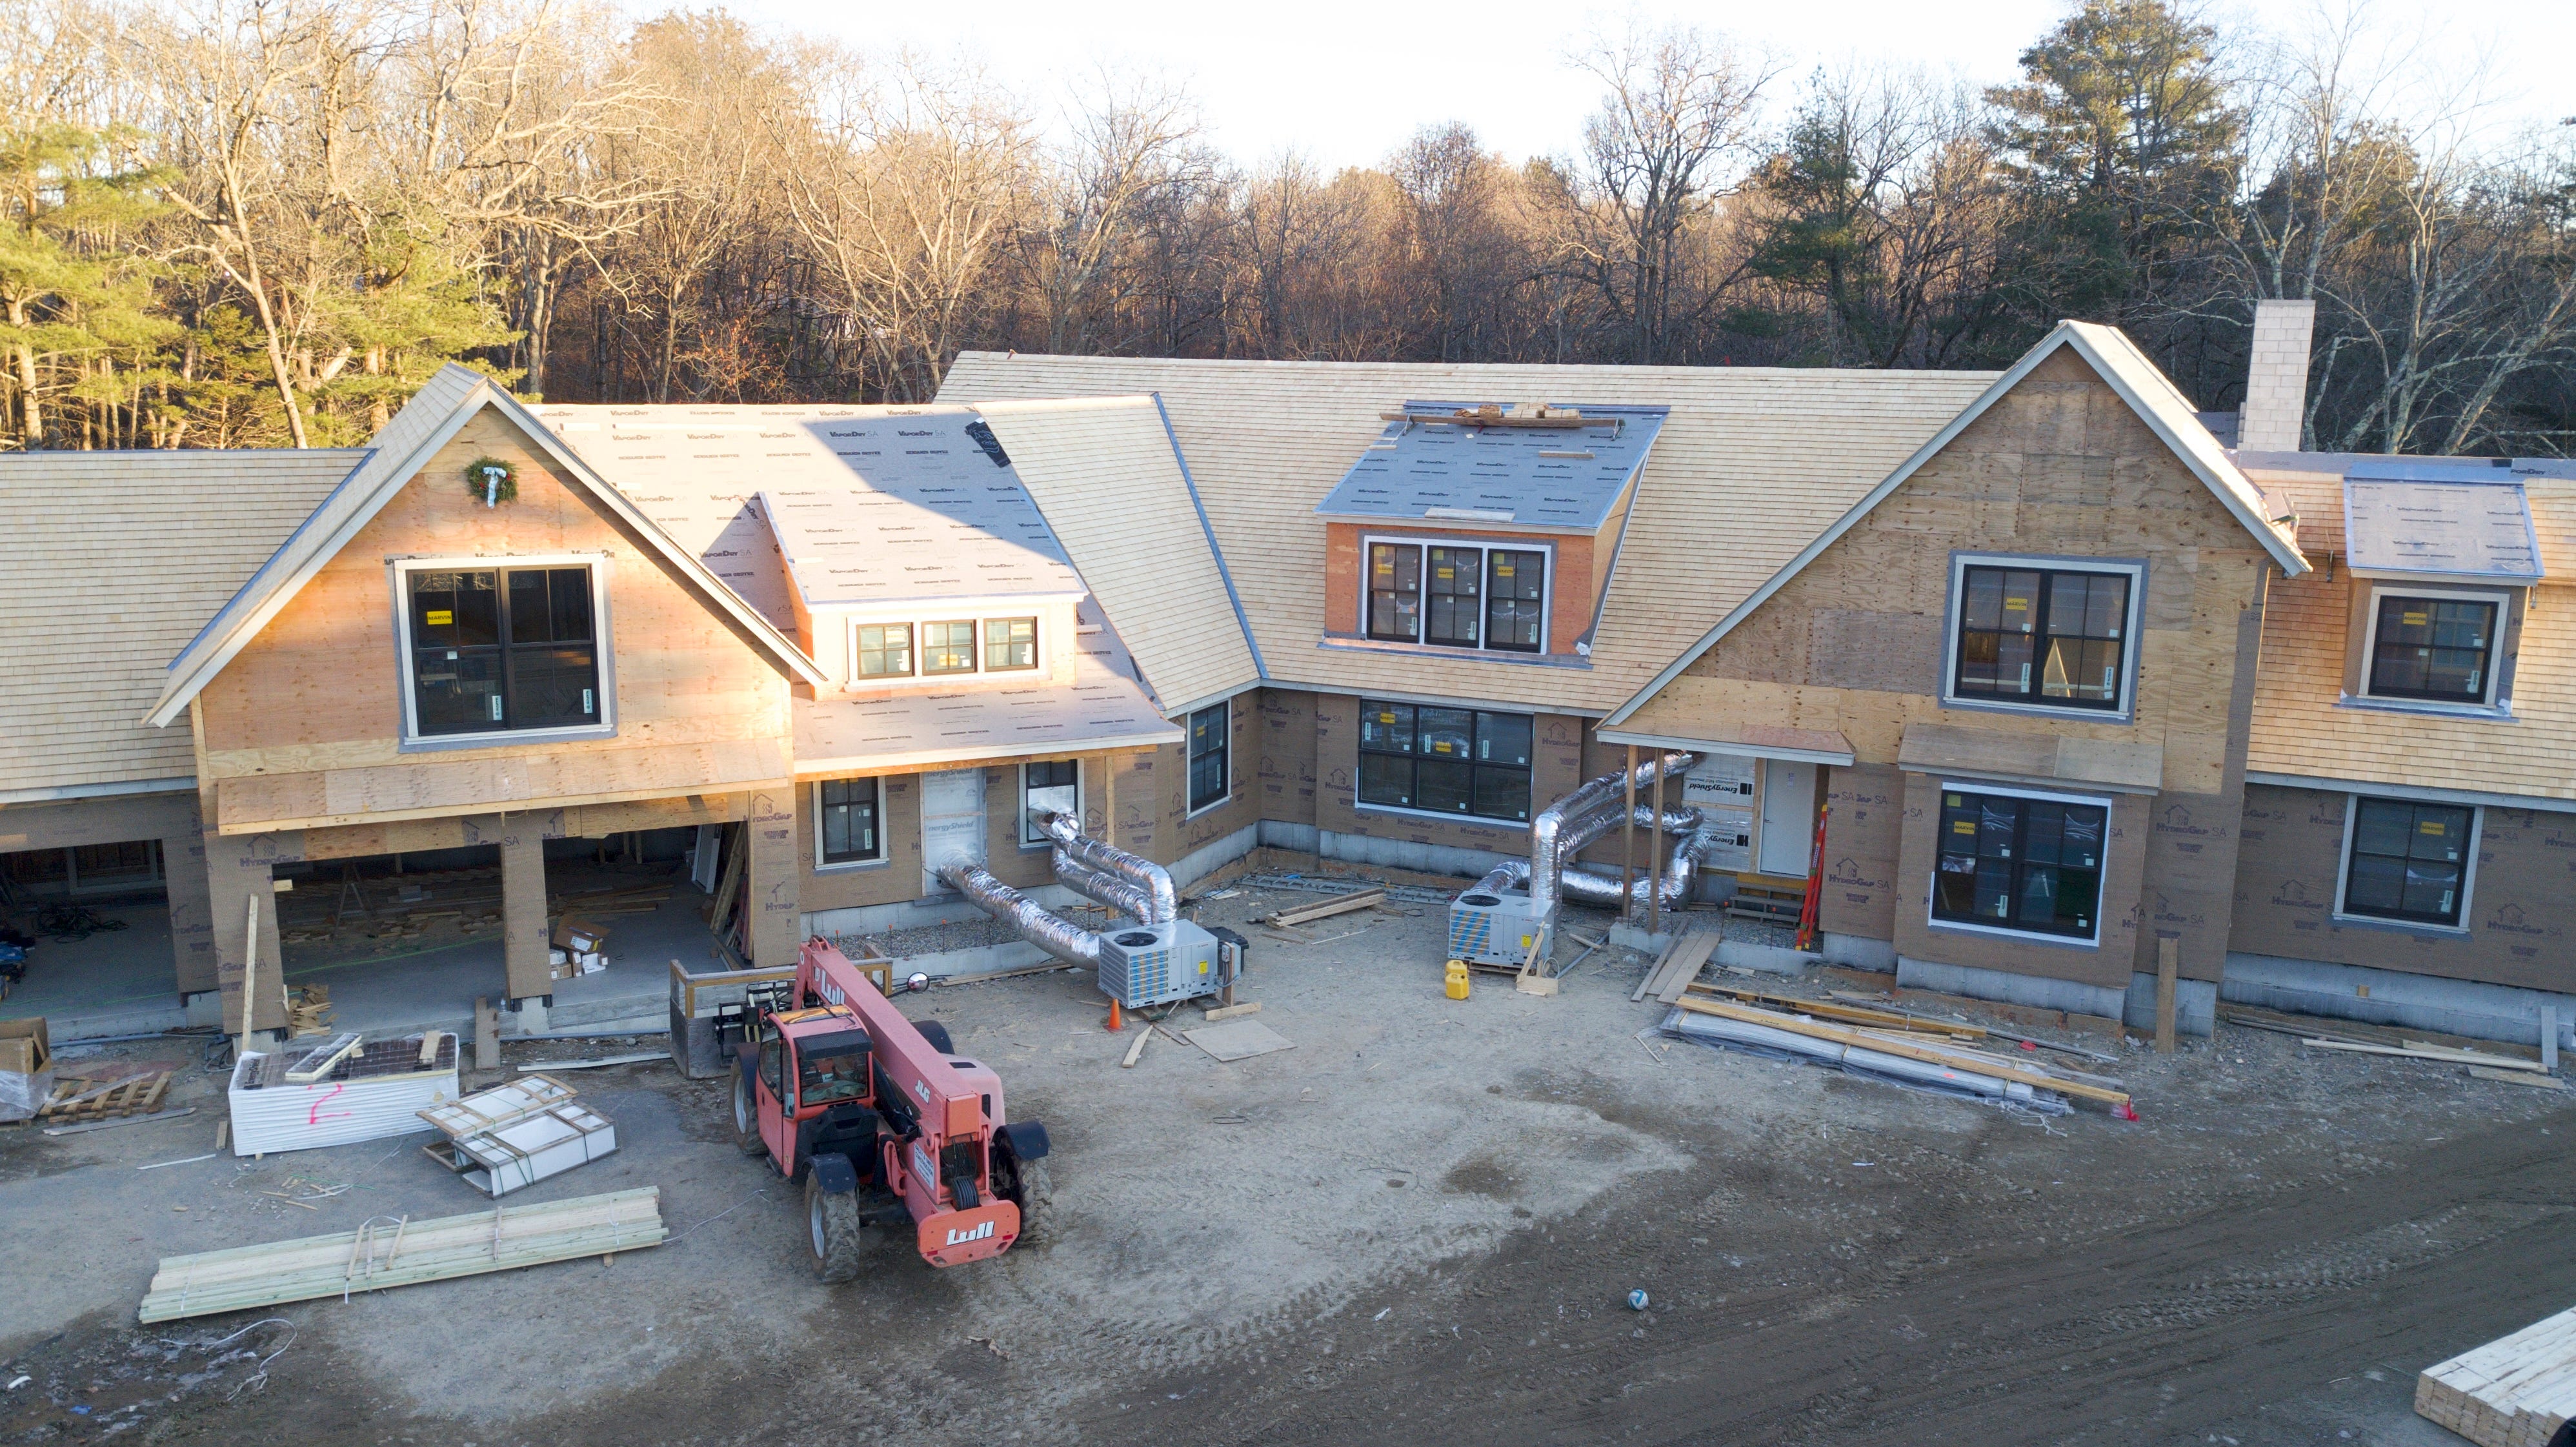
4. Heat Pumps (Heating + Cooling!)
If there’s a “silver bullet” for managing job site climate, it’s the heat pump.
It provides safe, fume-free heat, can run unattended overnight, and doubles as cooling when needed. Connect it to a thermostat and you can truly set it and forget it.
We like to split the work zone into two halves, each with its own system. Use two supply ducts (flex) to feed the first and second floors, with a return on the first floor — critical for efficient airflow.
Just keep an eye on humidity to avoid over-drying materials. And check filters regularly — that’s the only maintenance item that can choke the system.
Model: Bosch 5-ton heat pump
Cost: ~$5,000 (usable across 2–3 projects)
Plus electrical hookup and ducting.


Bottom Line
None of the above should be buried in your soft costs or hidden in your base price. Temp heat belongs in your General Conditions — right next to “dumpster” and “snow removal.”
For years, I thought things like temp heat were just part of the job — but when they cut into production, they need to be budgeted.
I get it — it’s hard enough to win projects with healthy budgets before adding in “comfort costs.” But these aren’t luxuries. They’re quality-control tools that protect your craftsmanship, reduce callbacks, and elevate your handoff experience for clients.
Next Steps
Identify which option fits your project size and setup.
Get quotes from your local propane, electric, or HVAC suppliers.
Build out a “temp heating package” and amortize the cost across 3 years to find your monthly rate.
Add it as a line item on your estimates moving forward.
Your projects — and your team — will thank you for it.
Dude, you should send this to JLC. There’s a lot of good info.